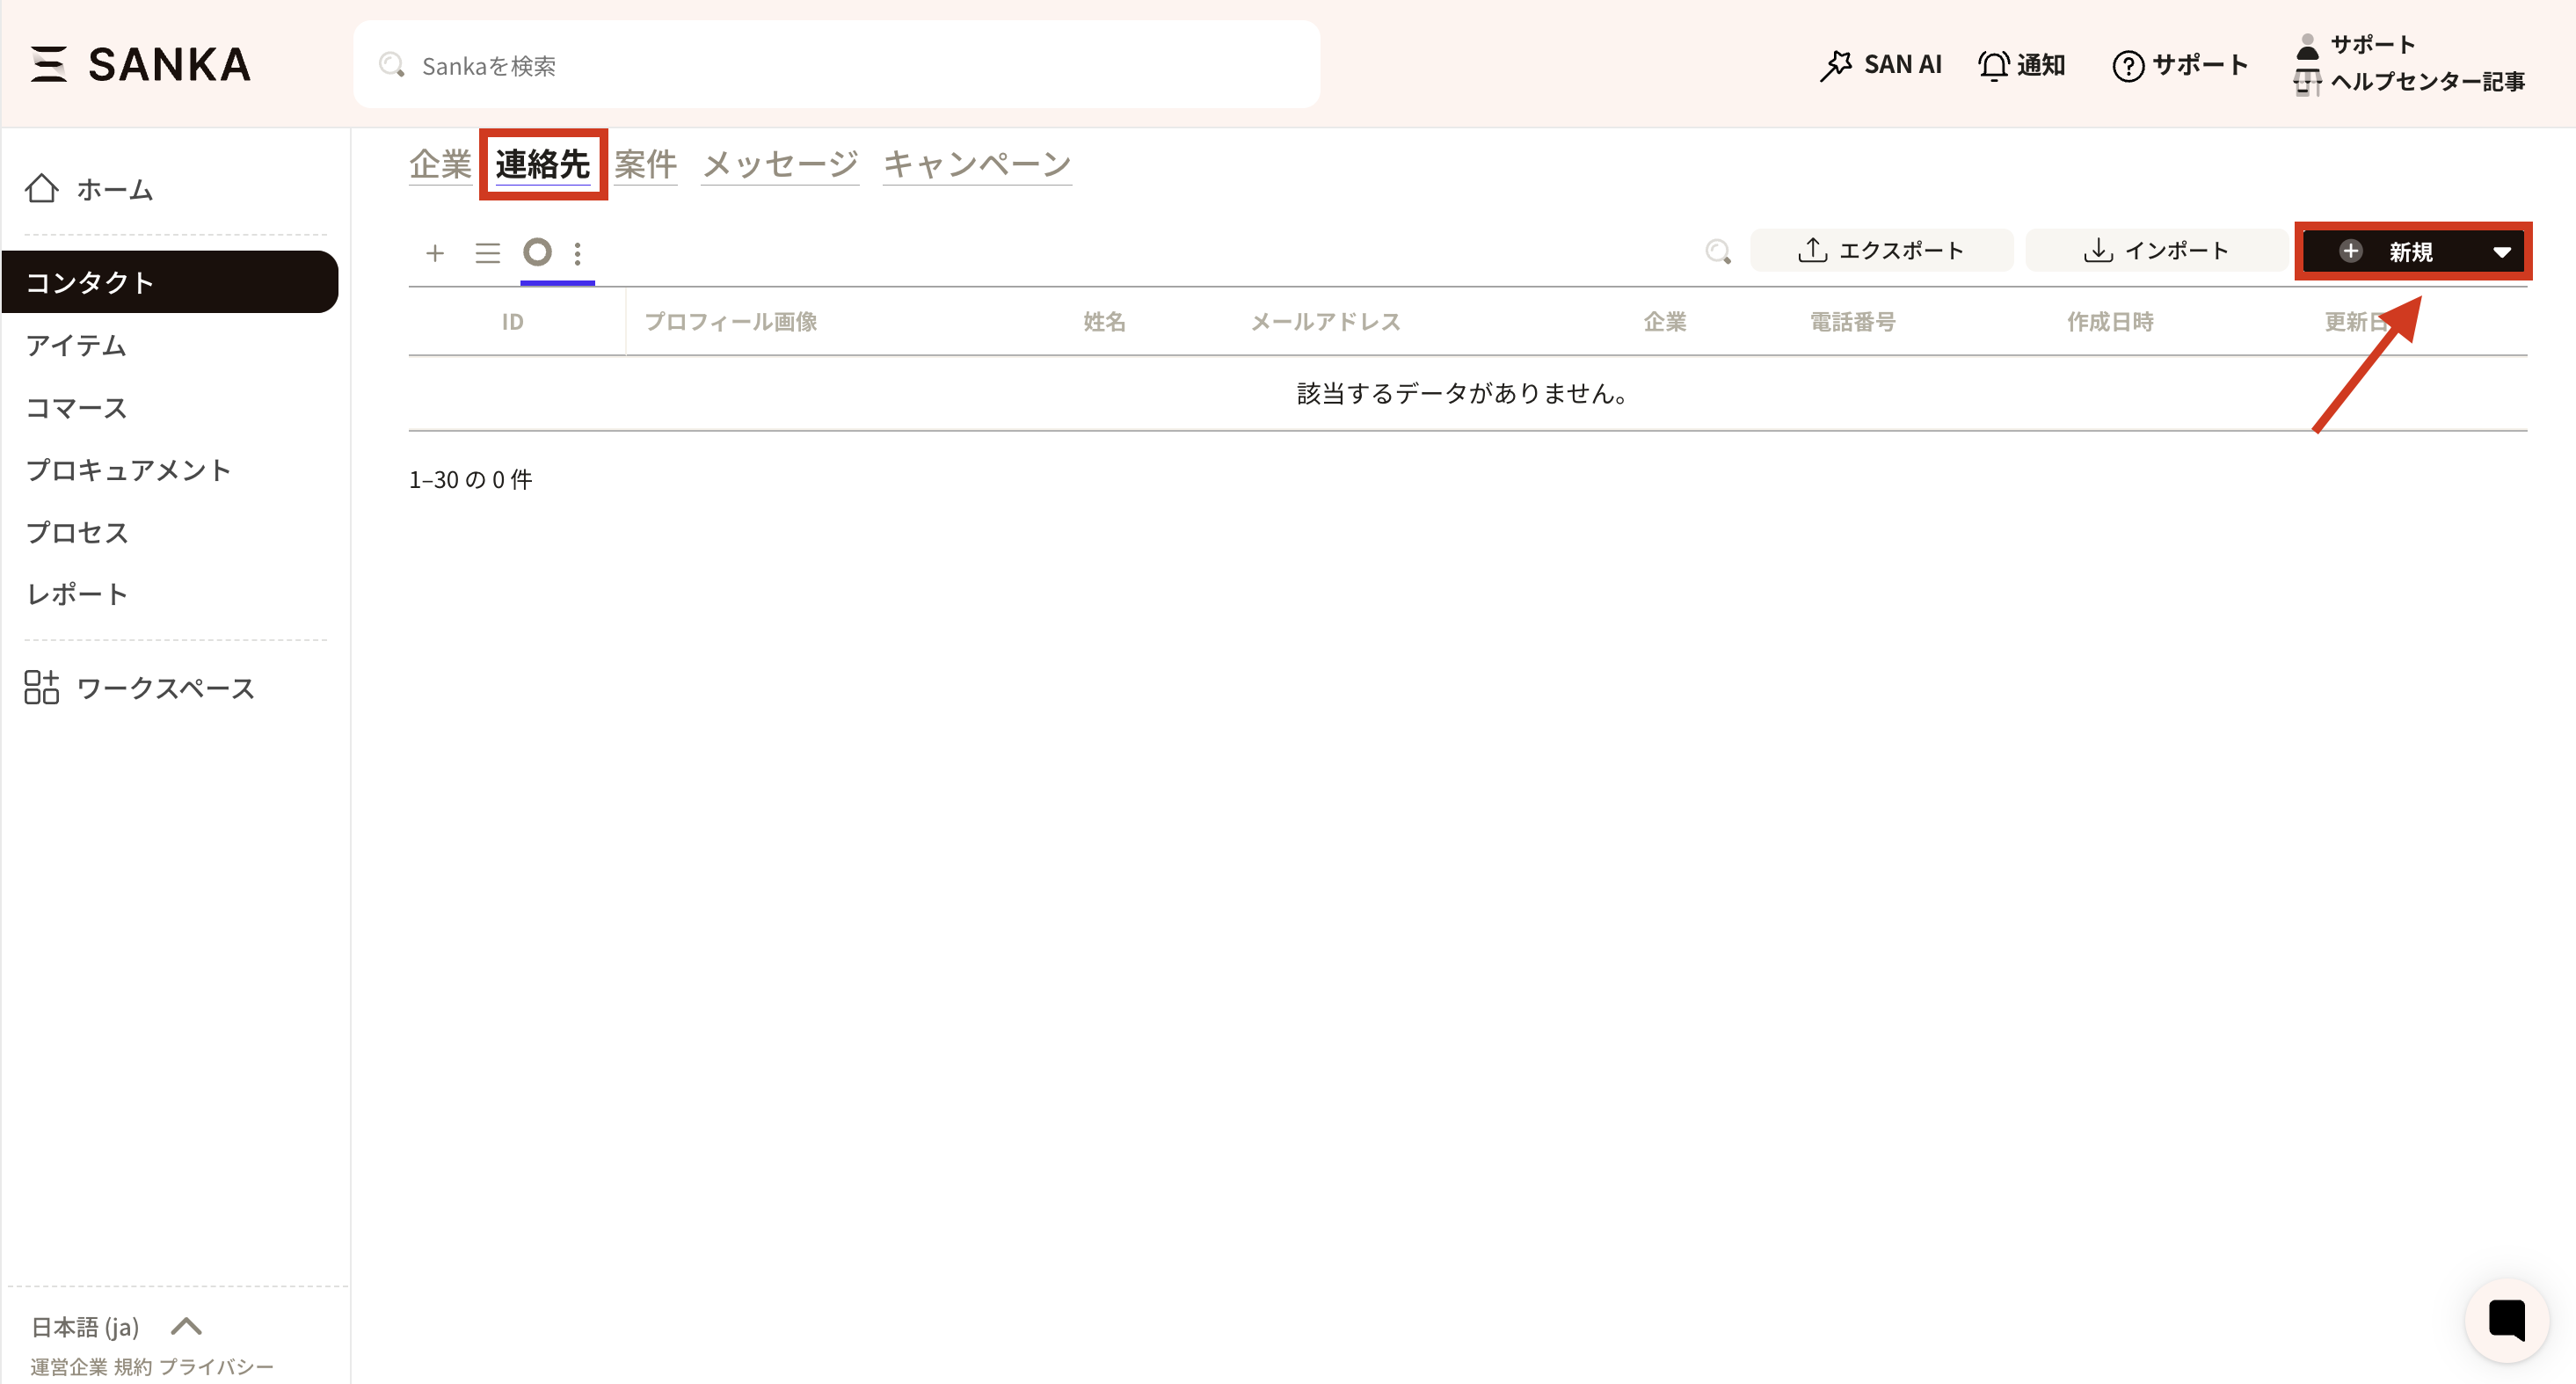
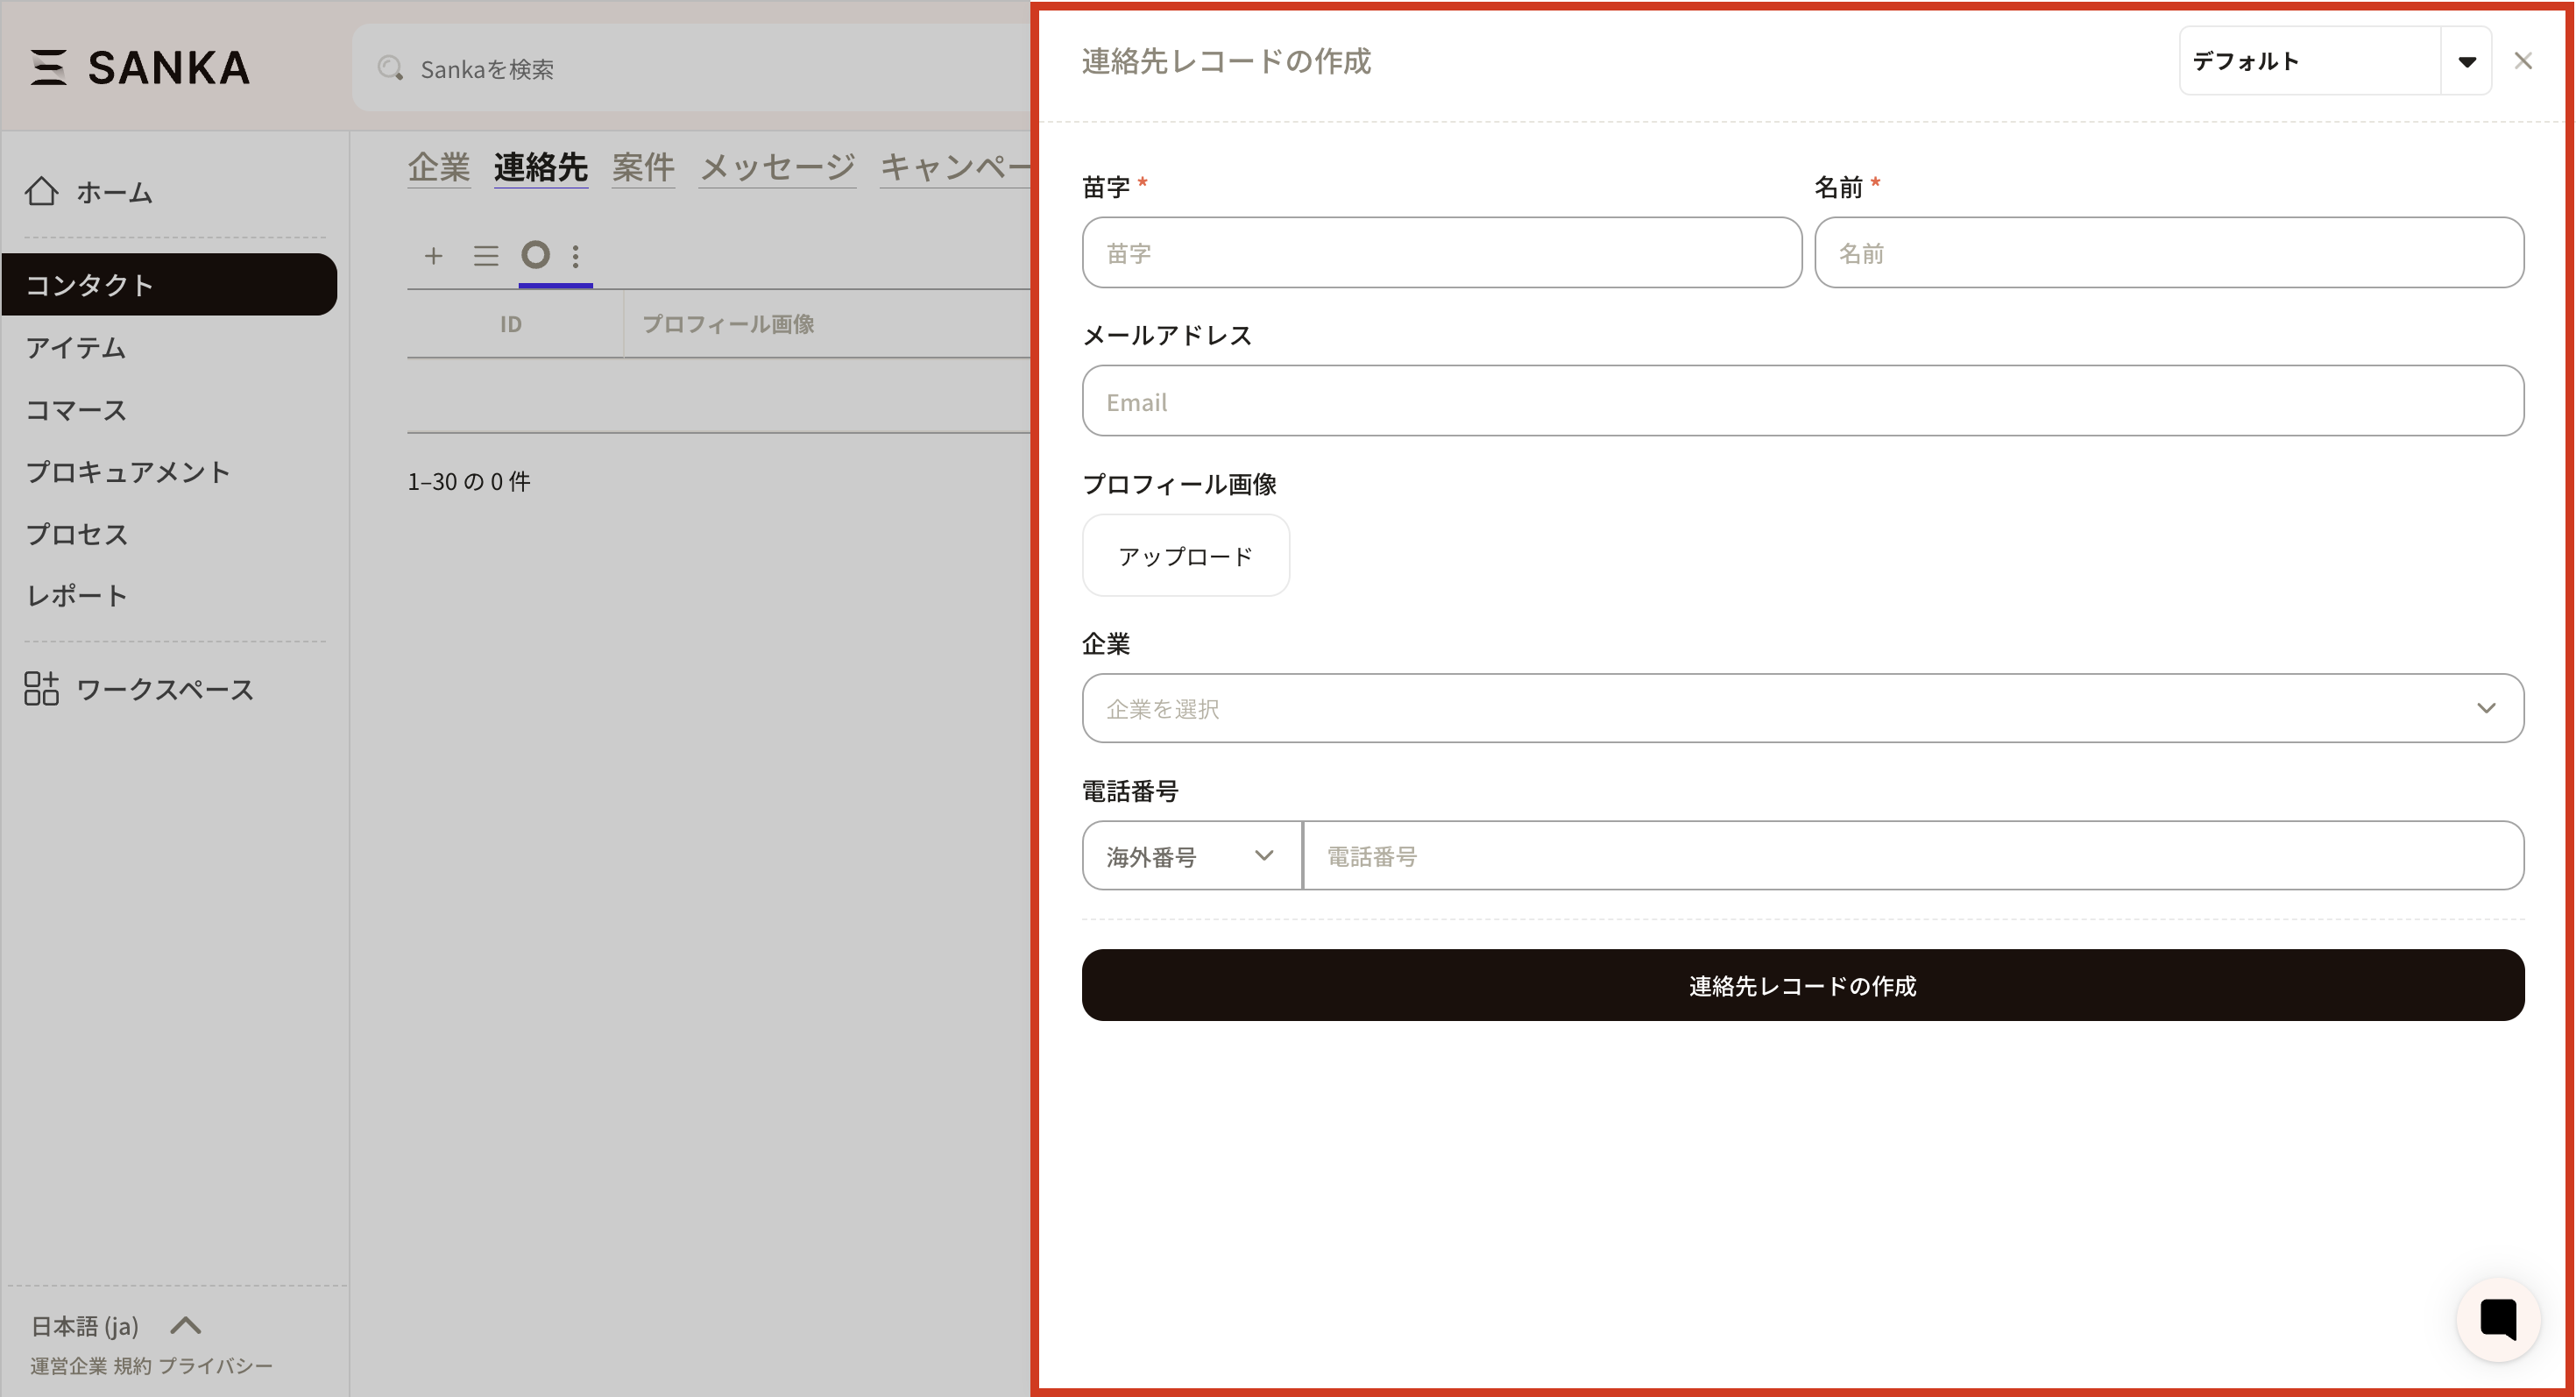
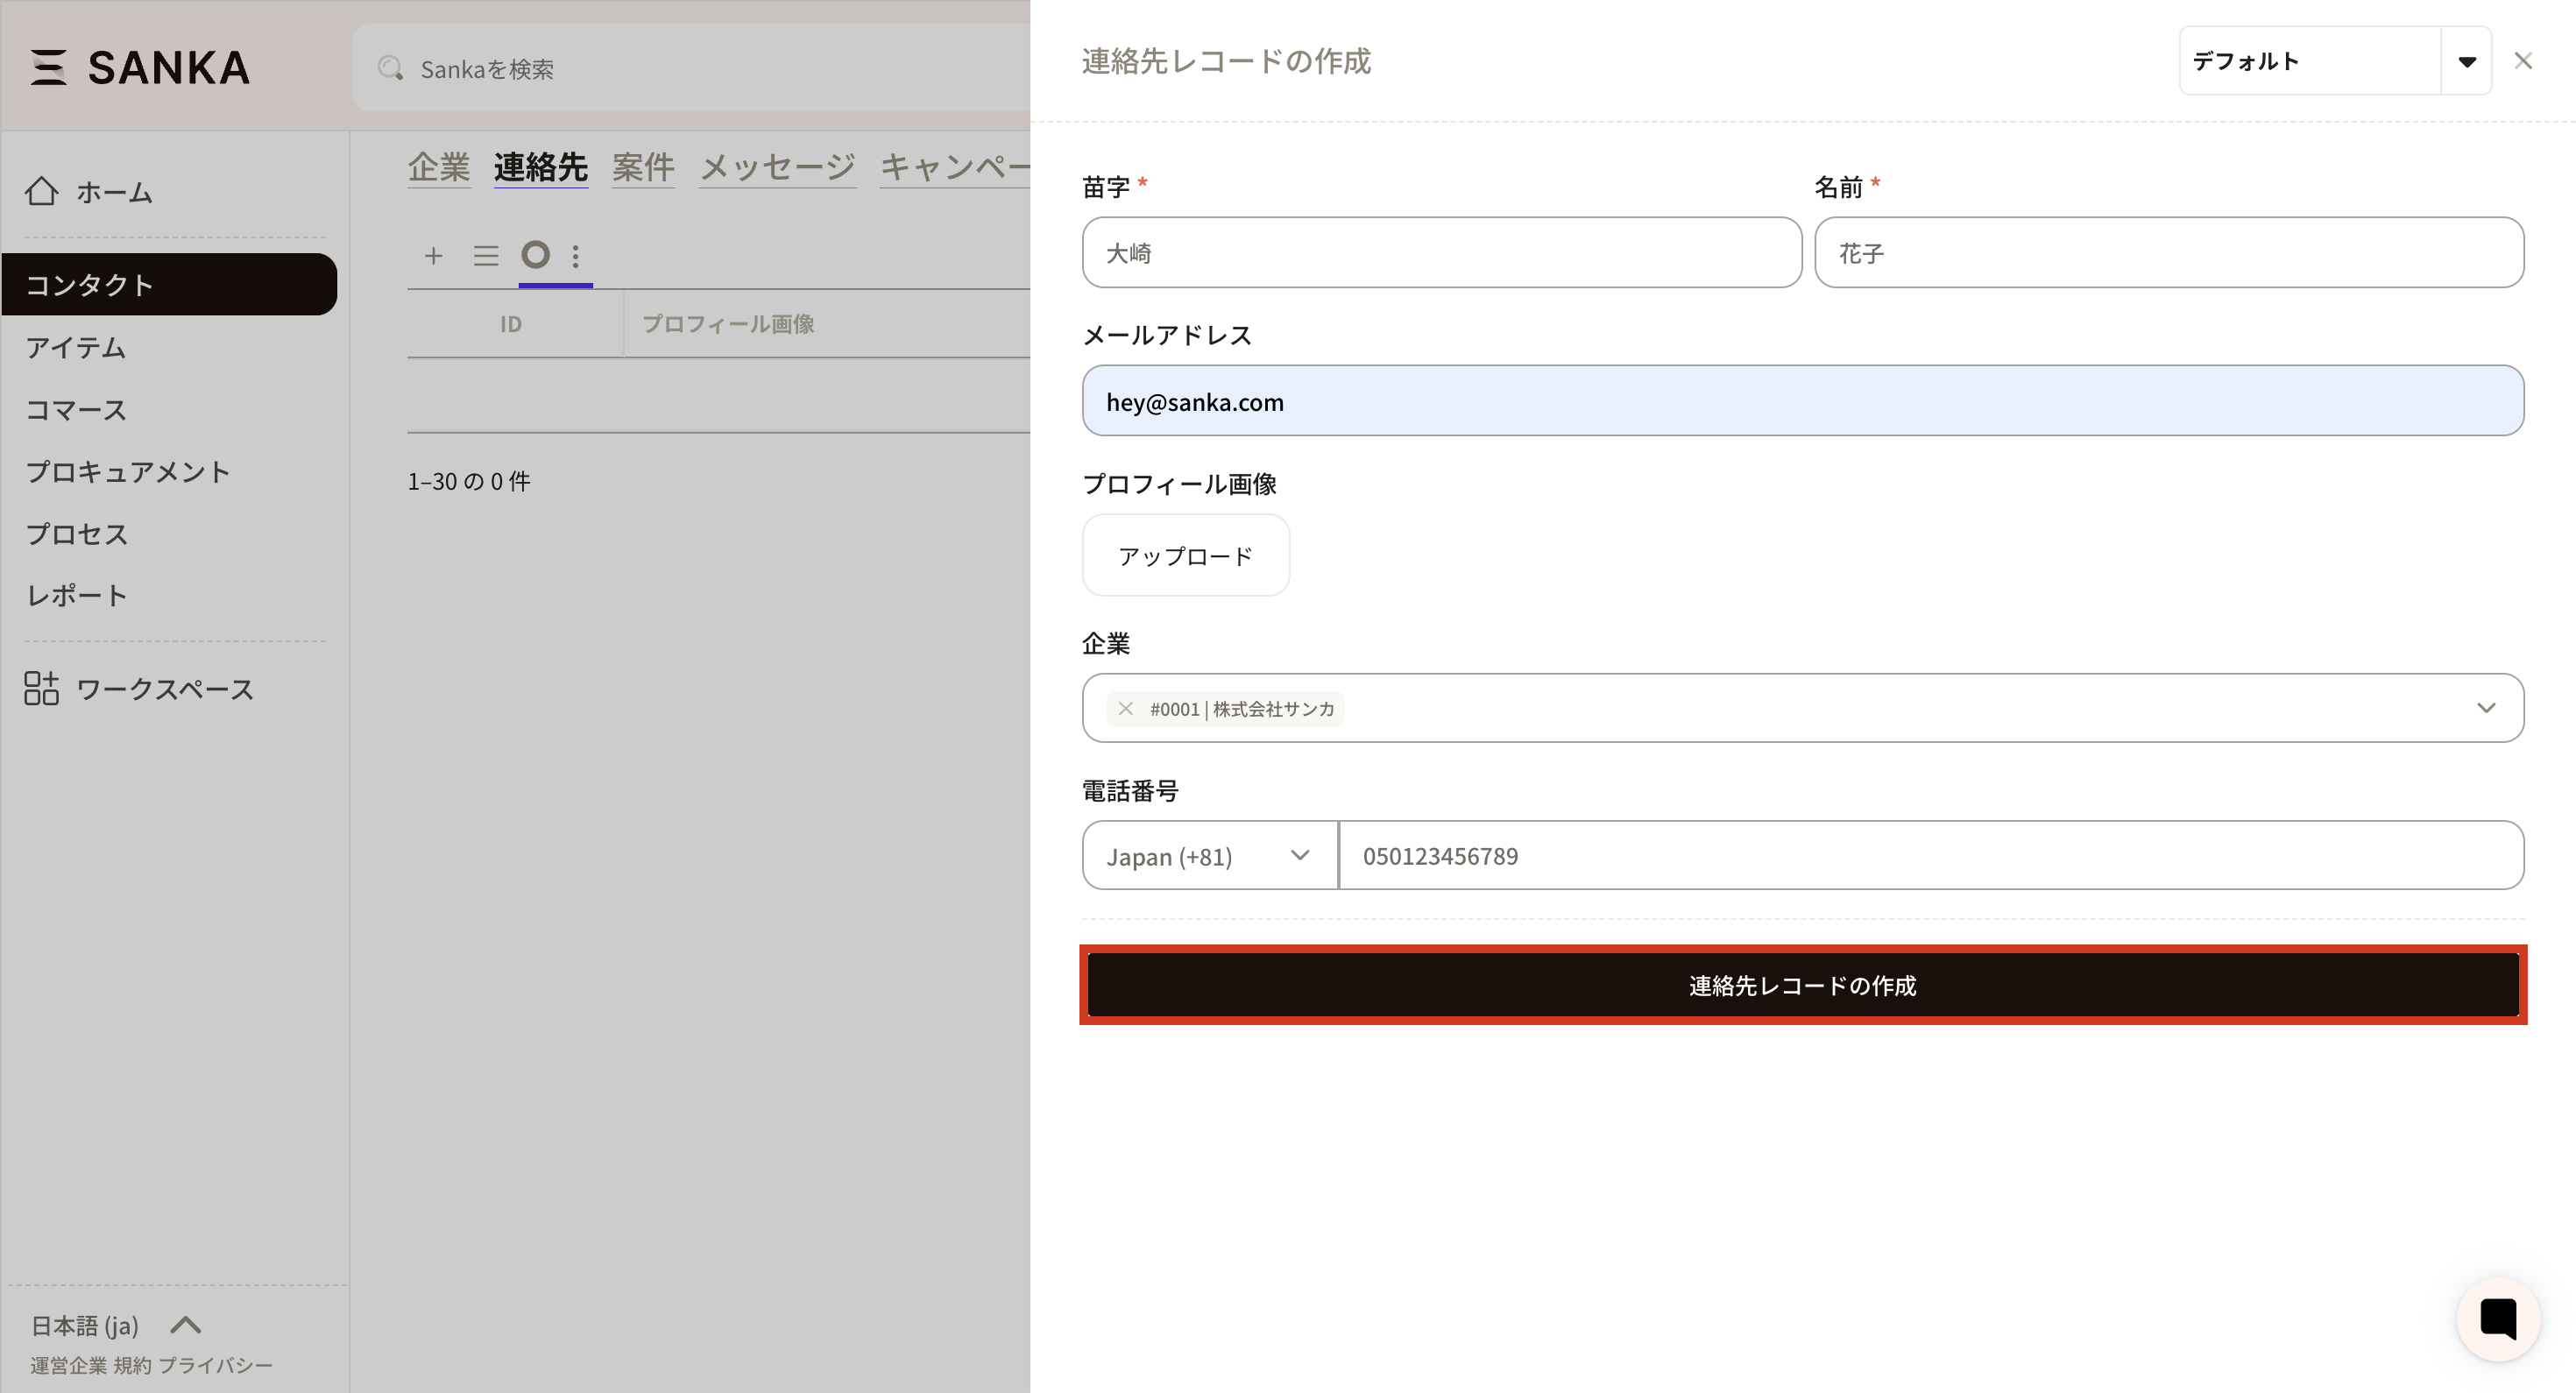
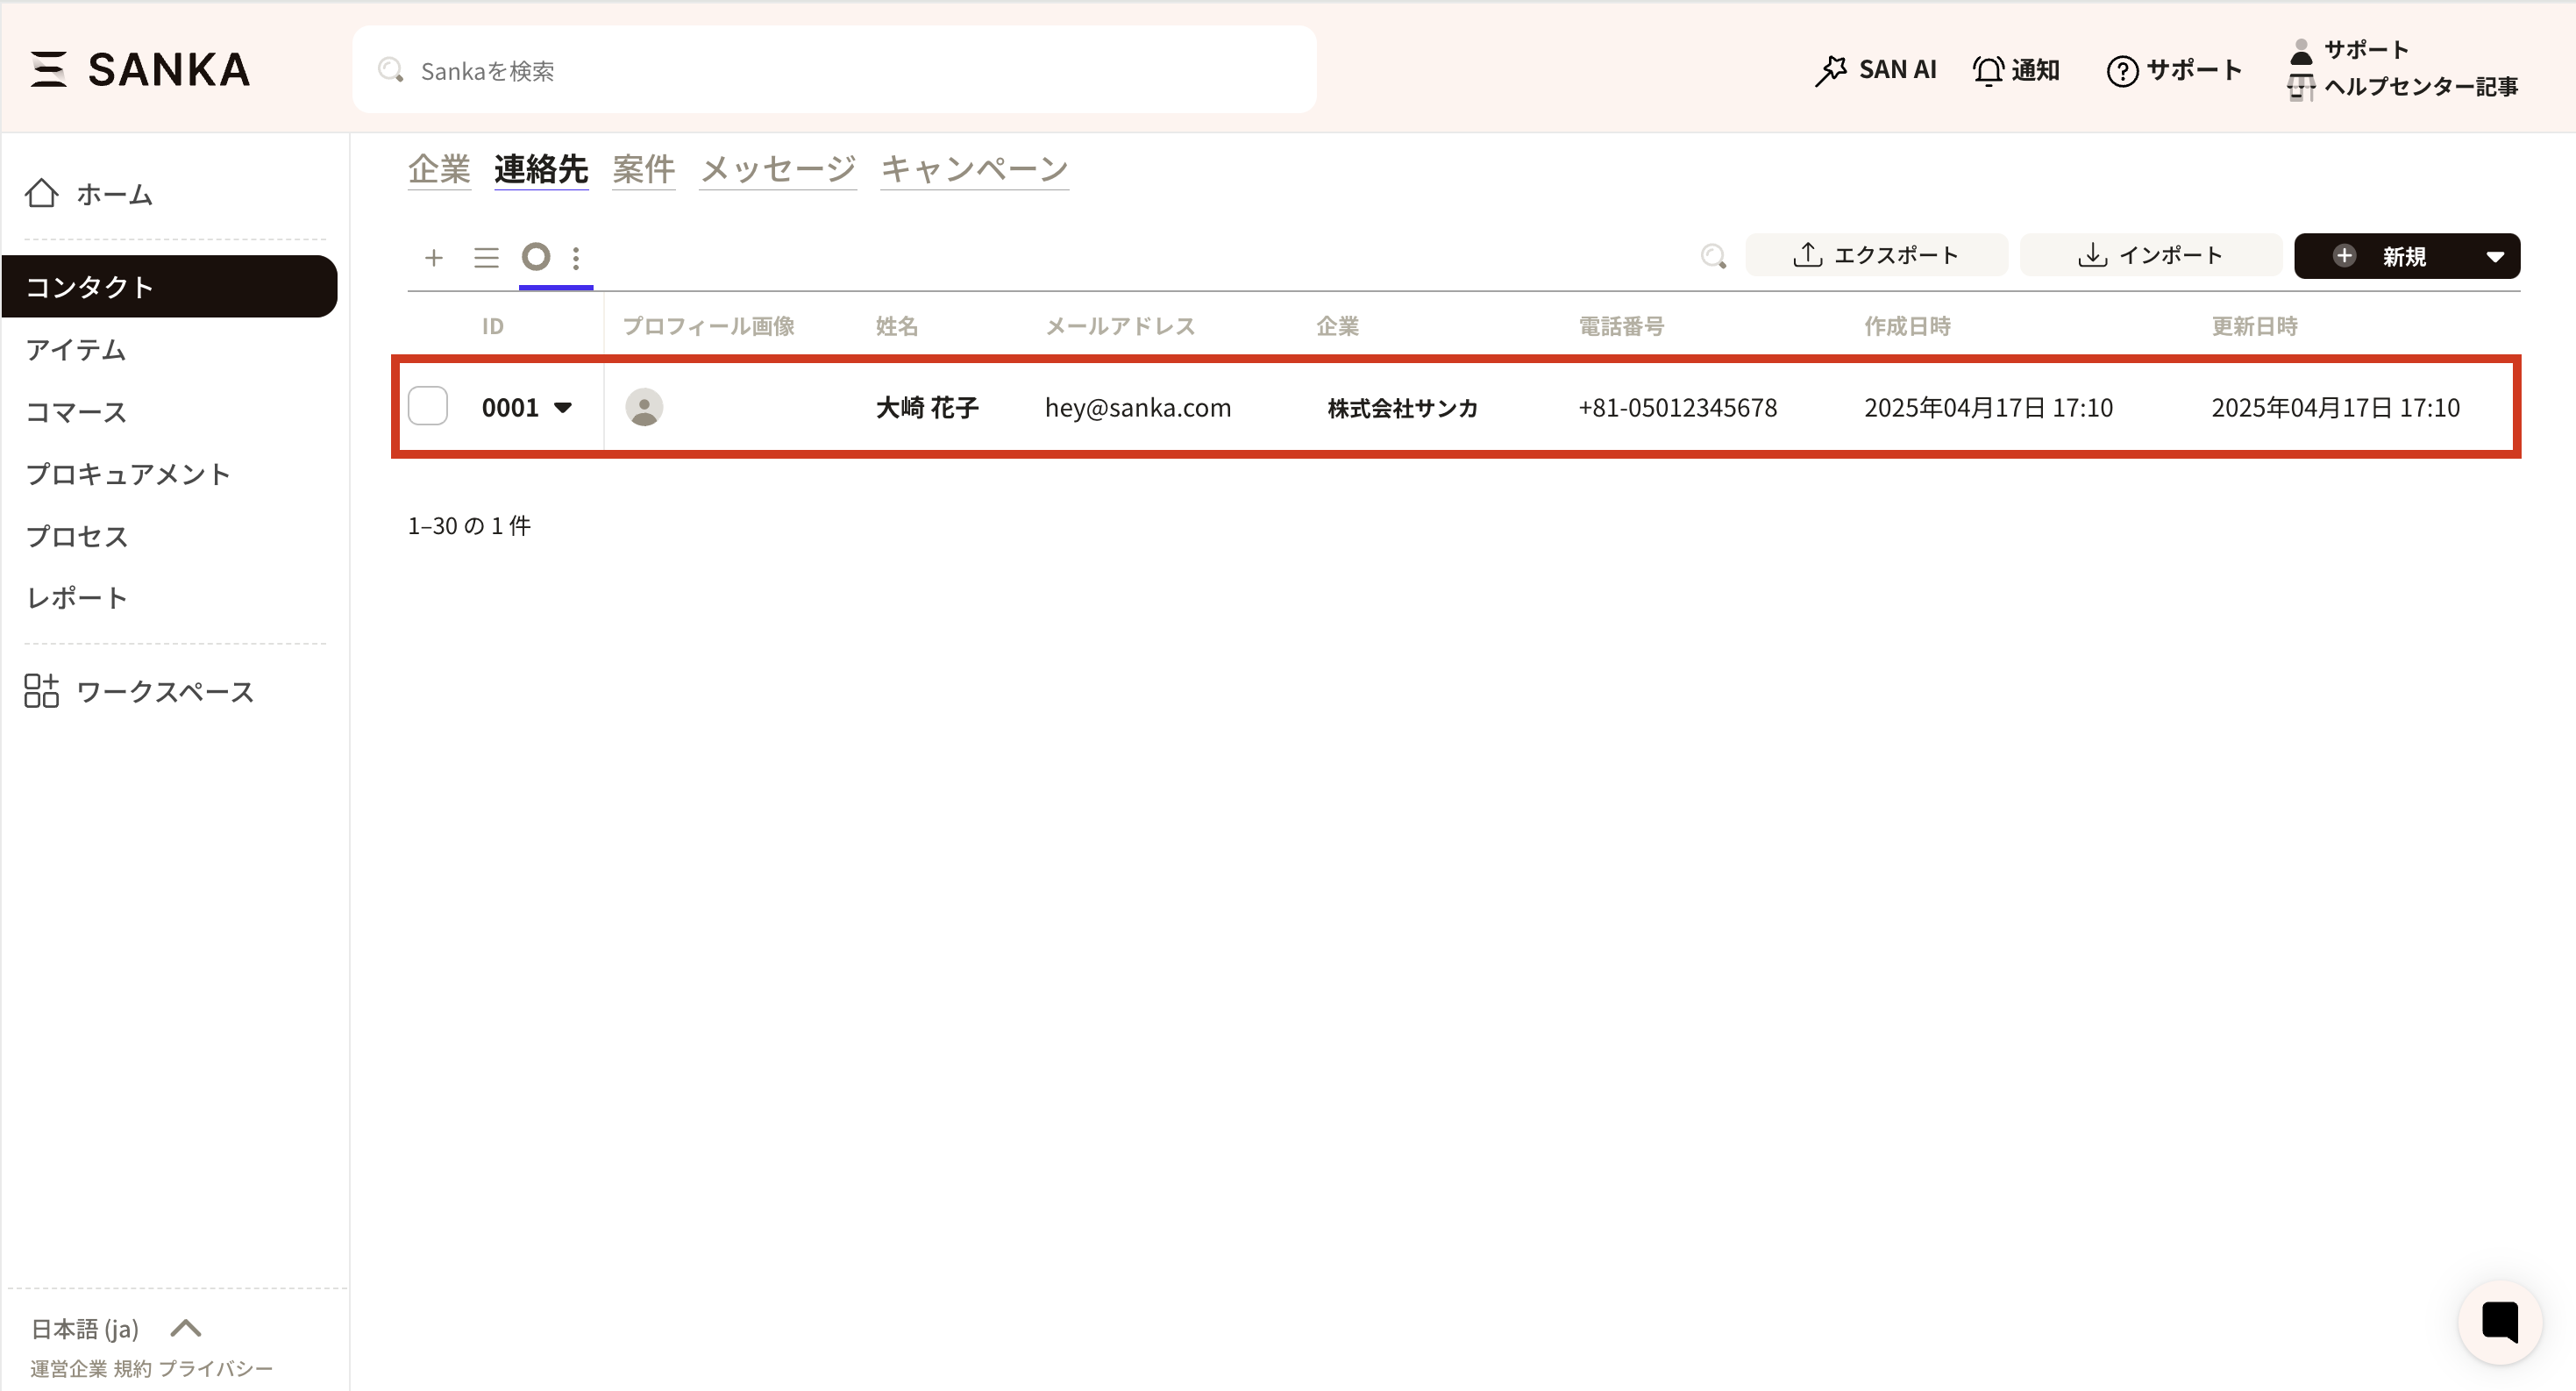
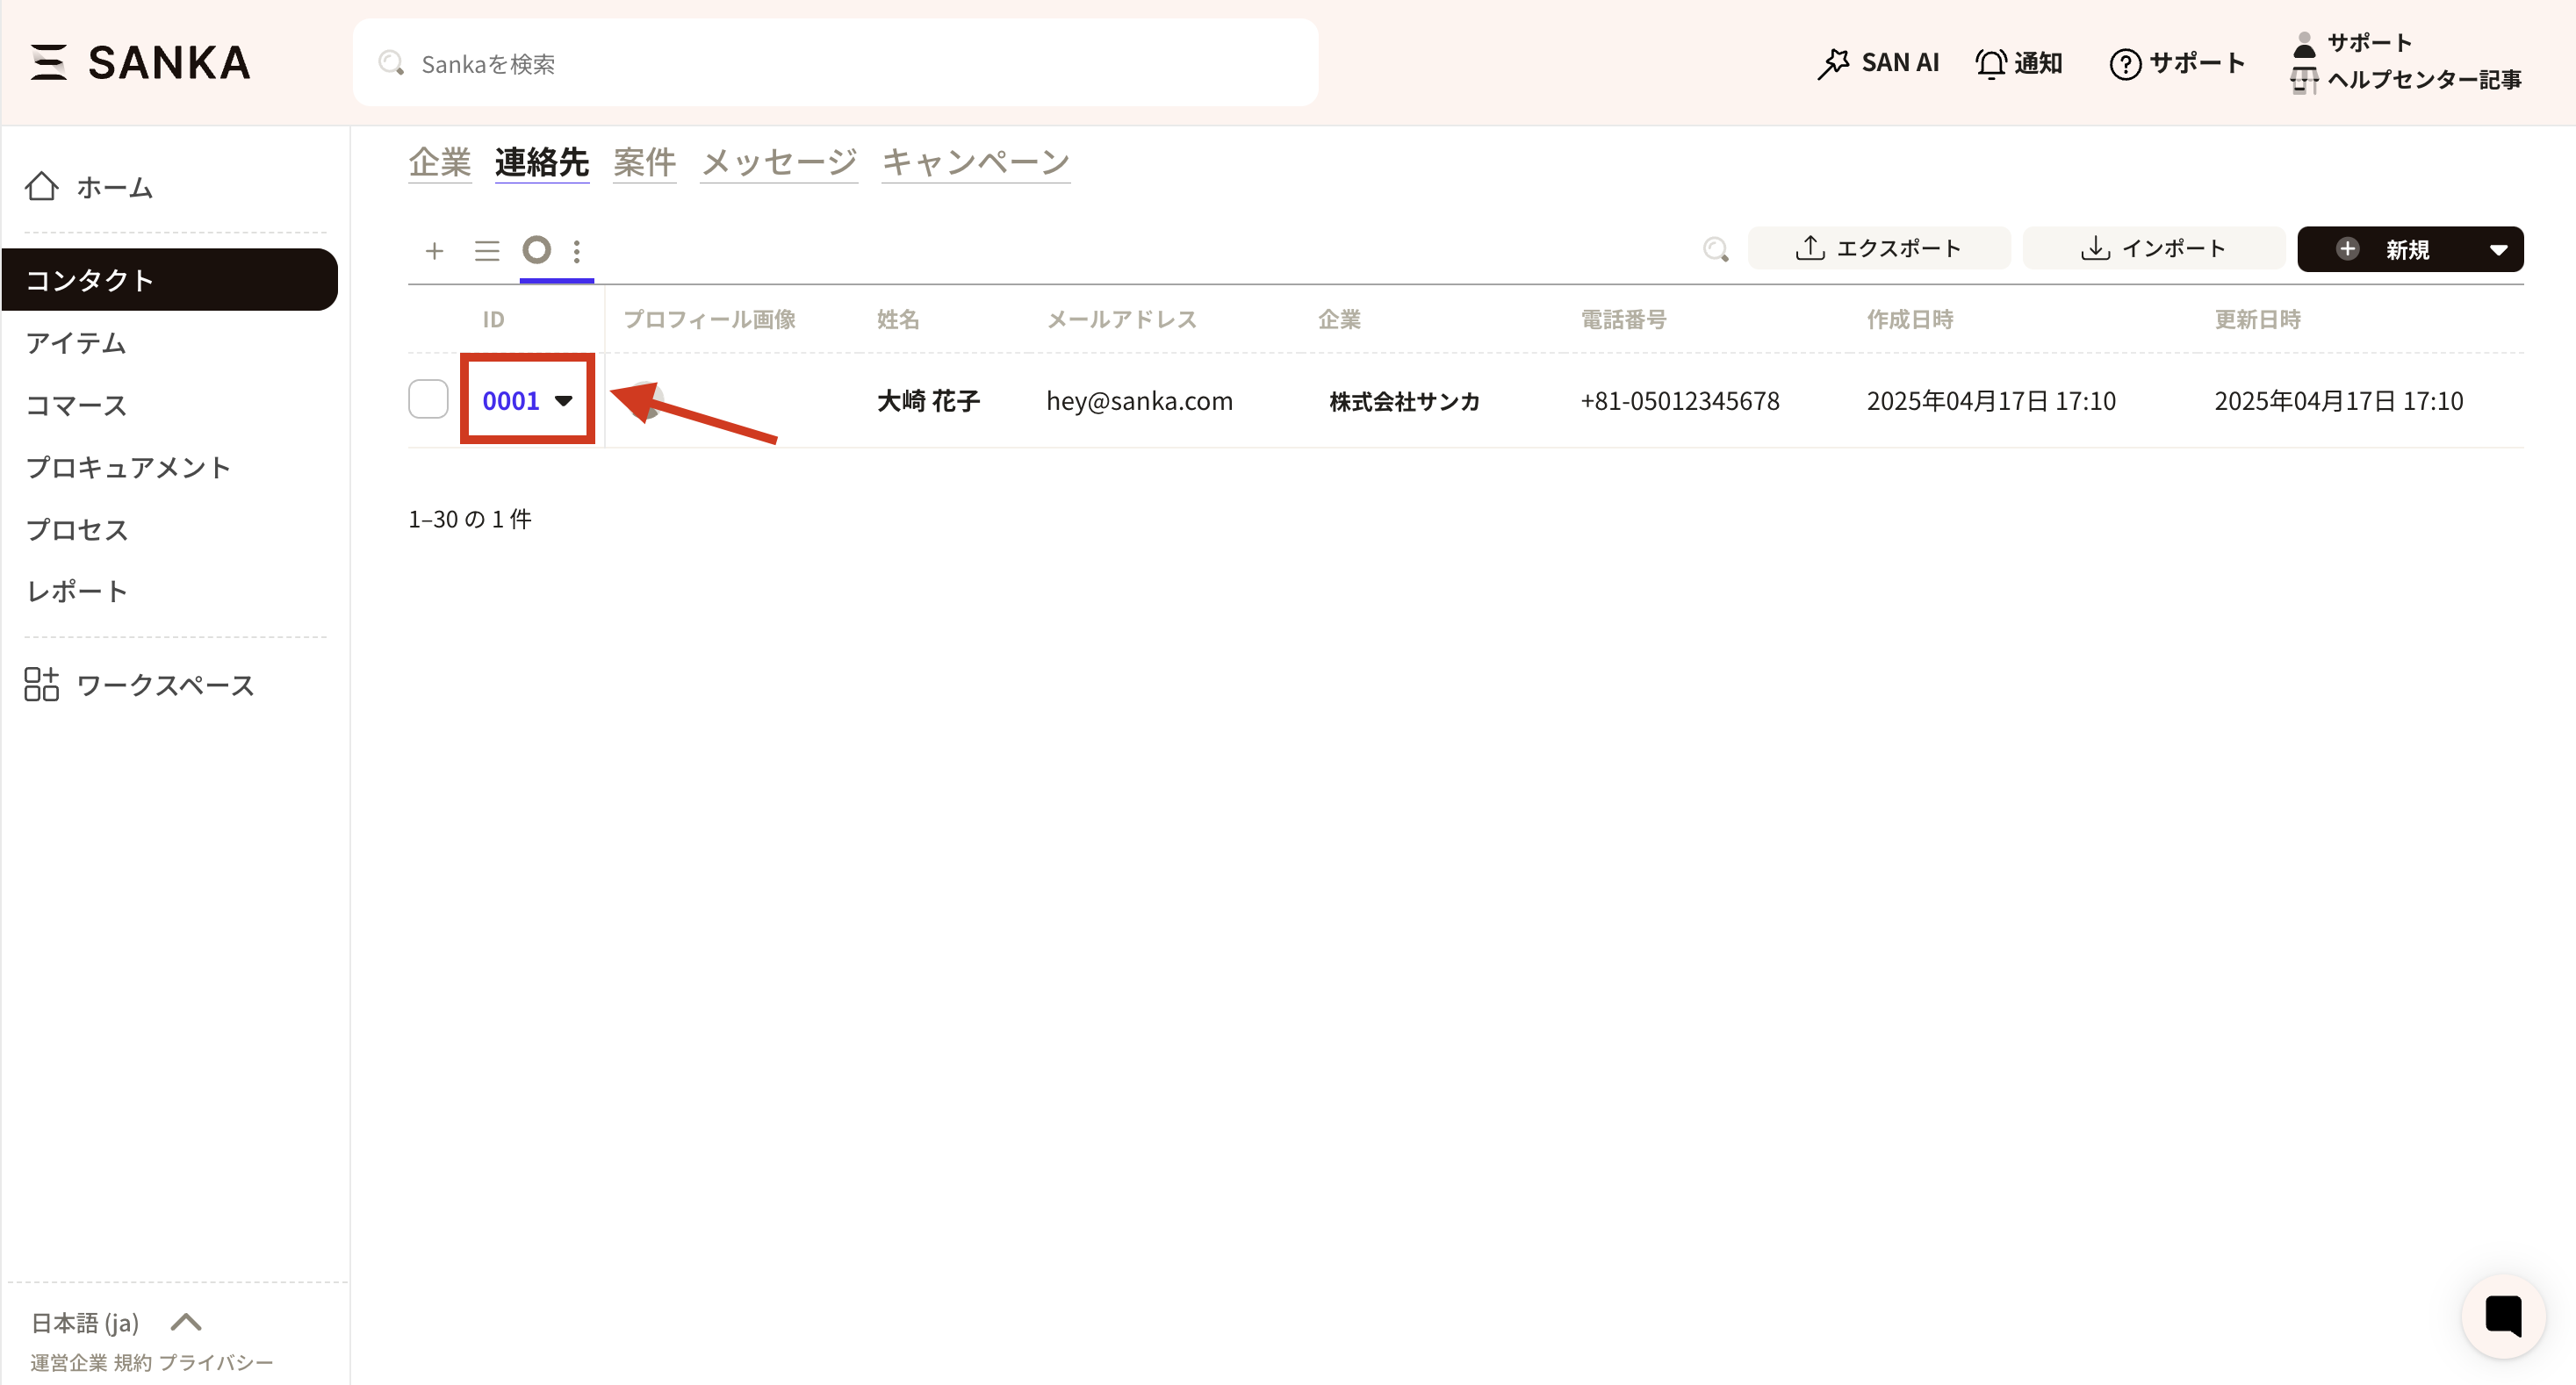
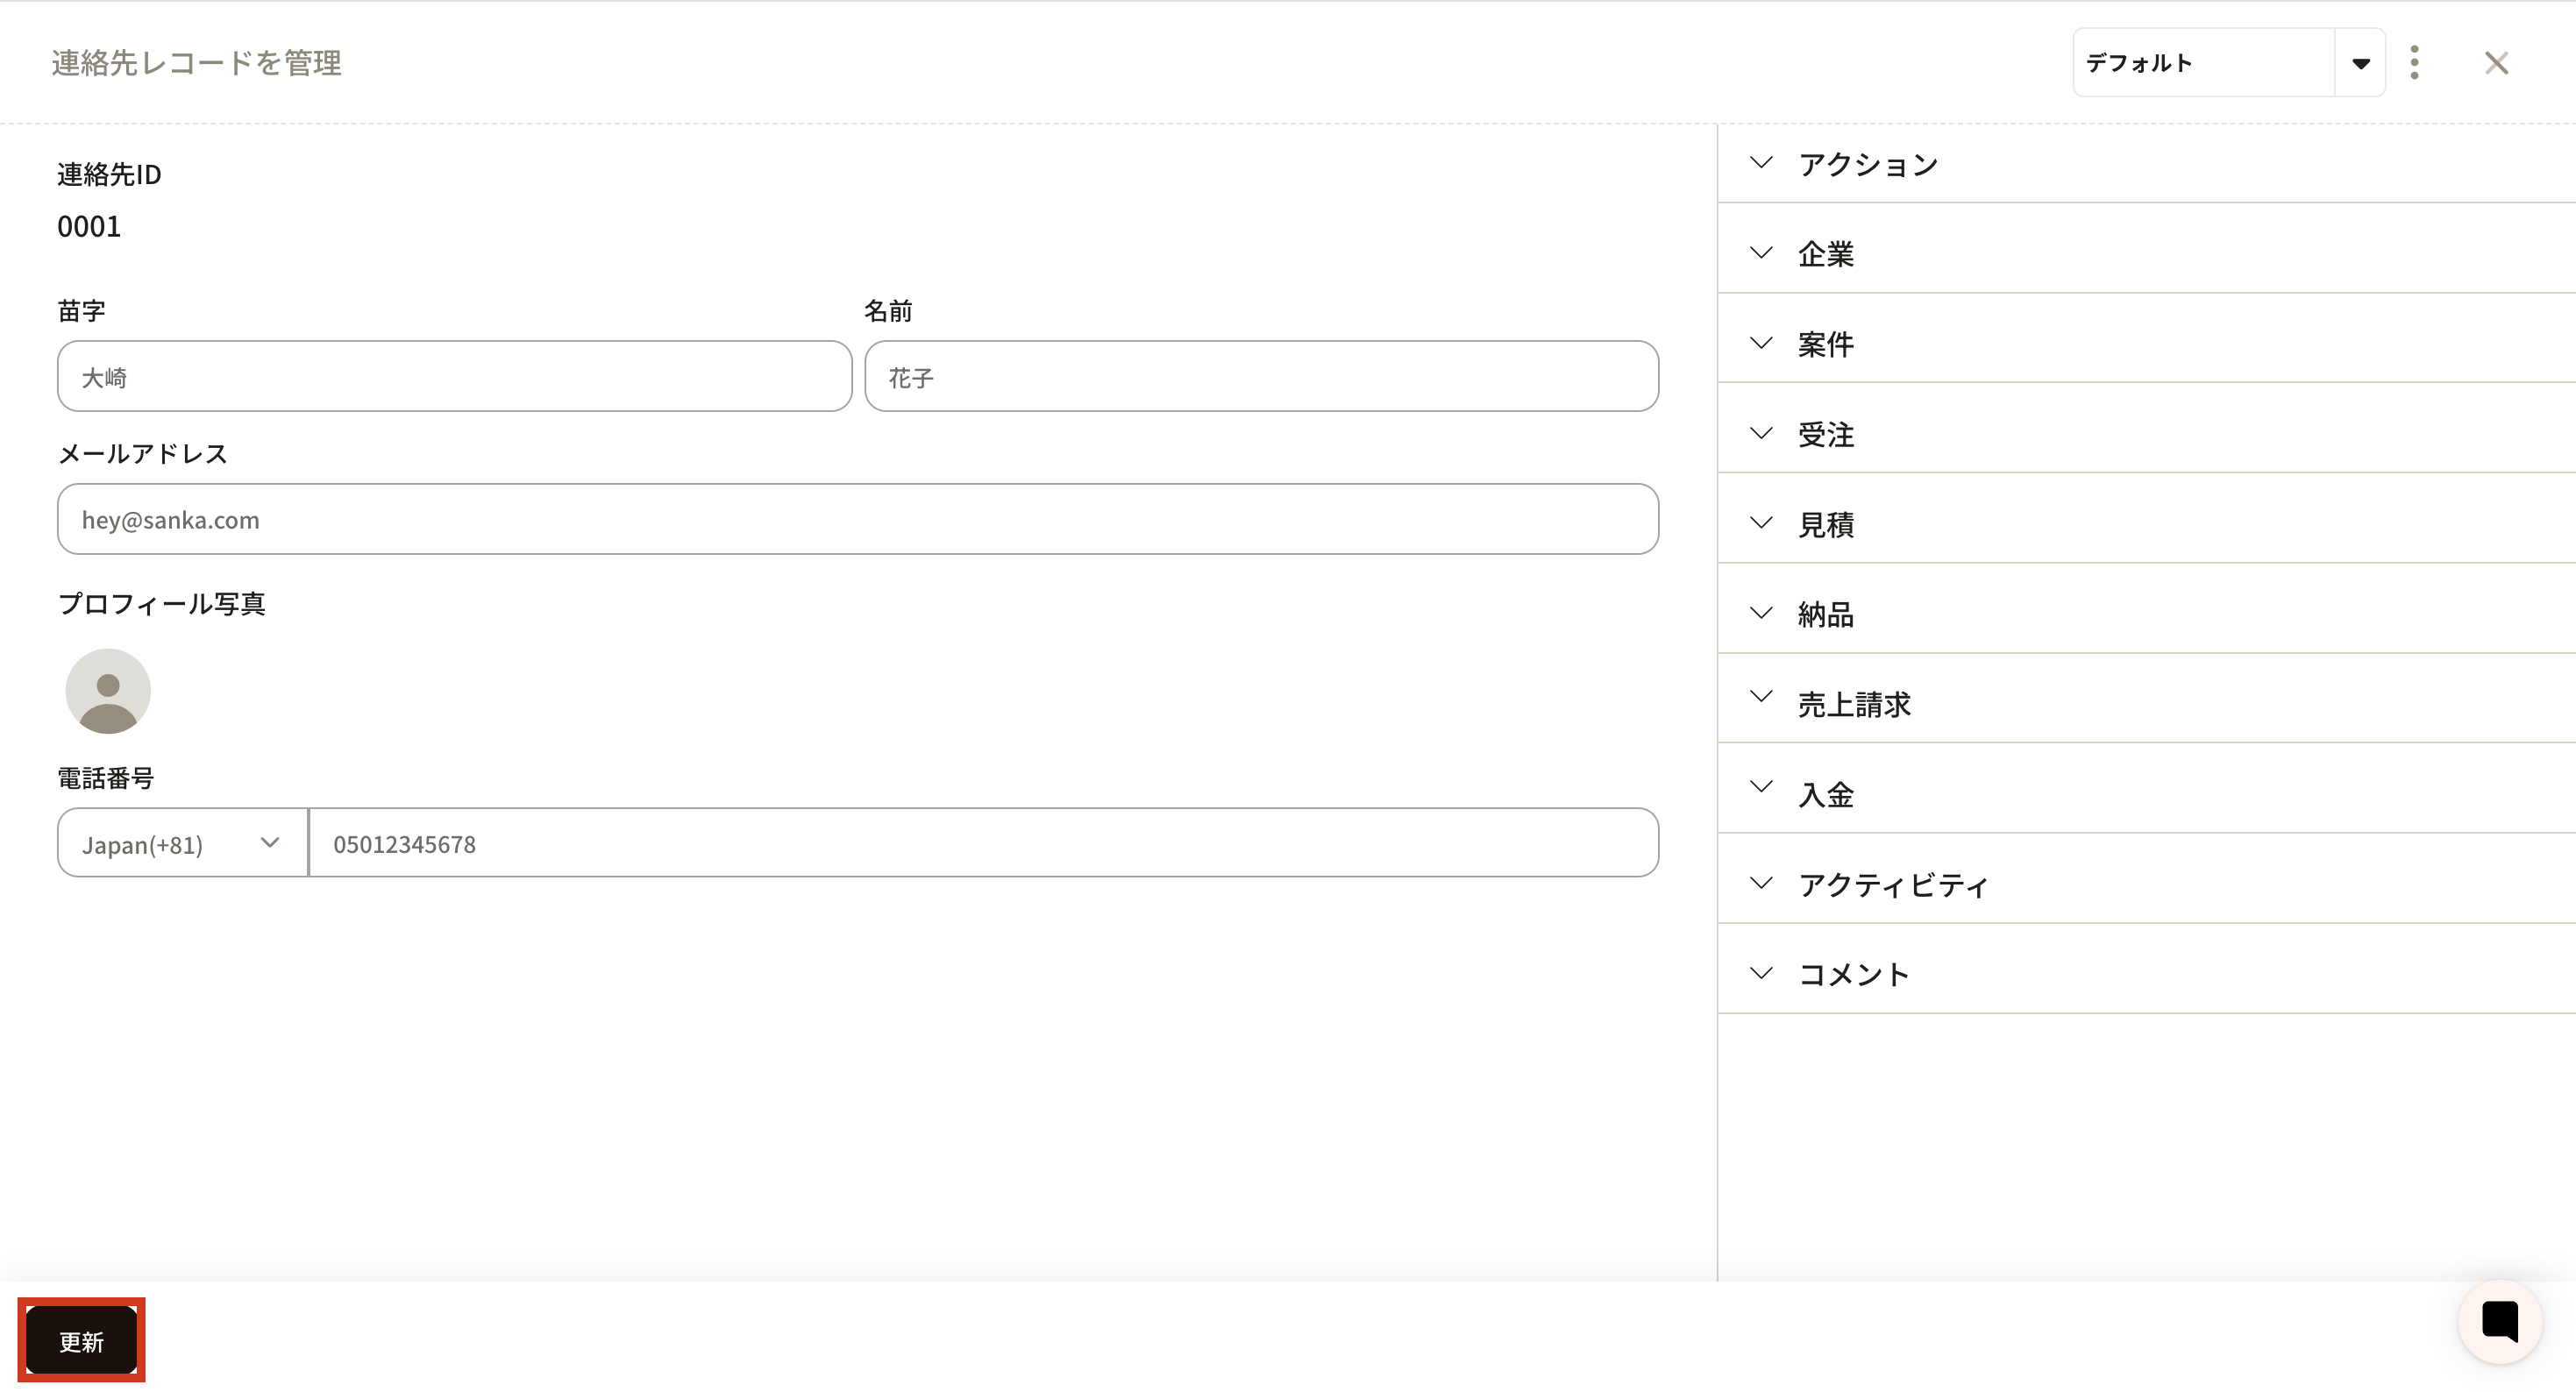
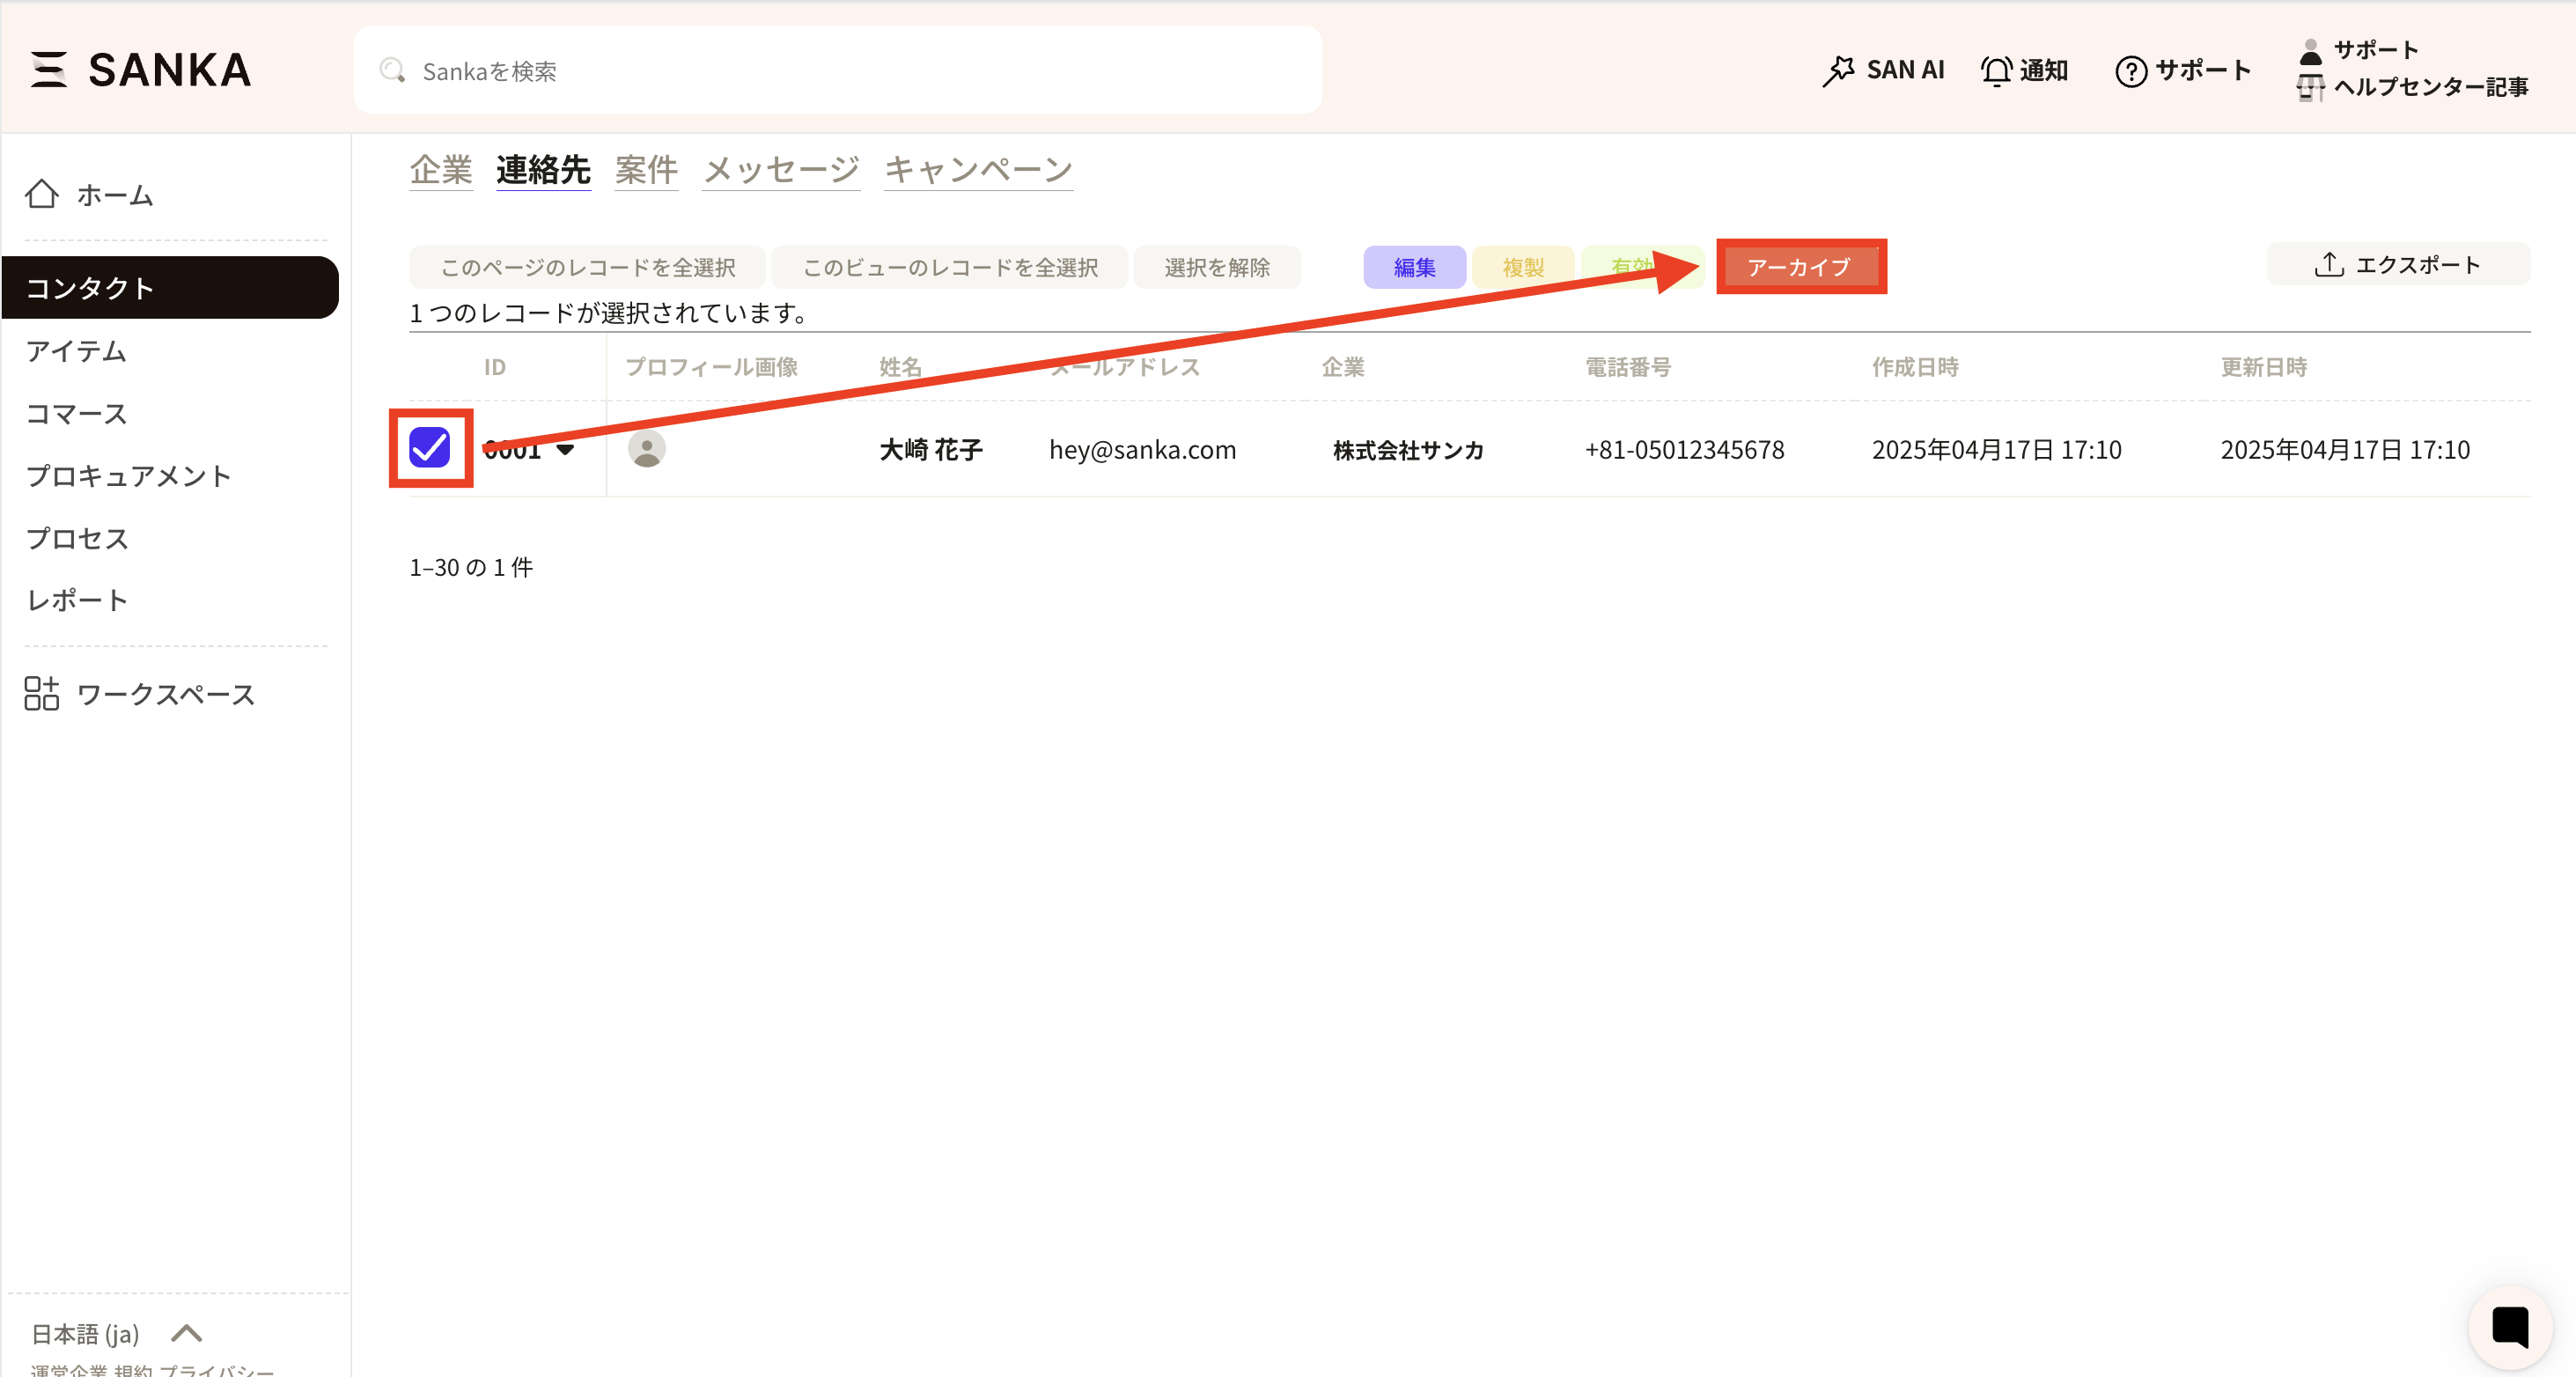
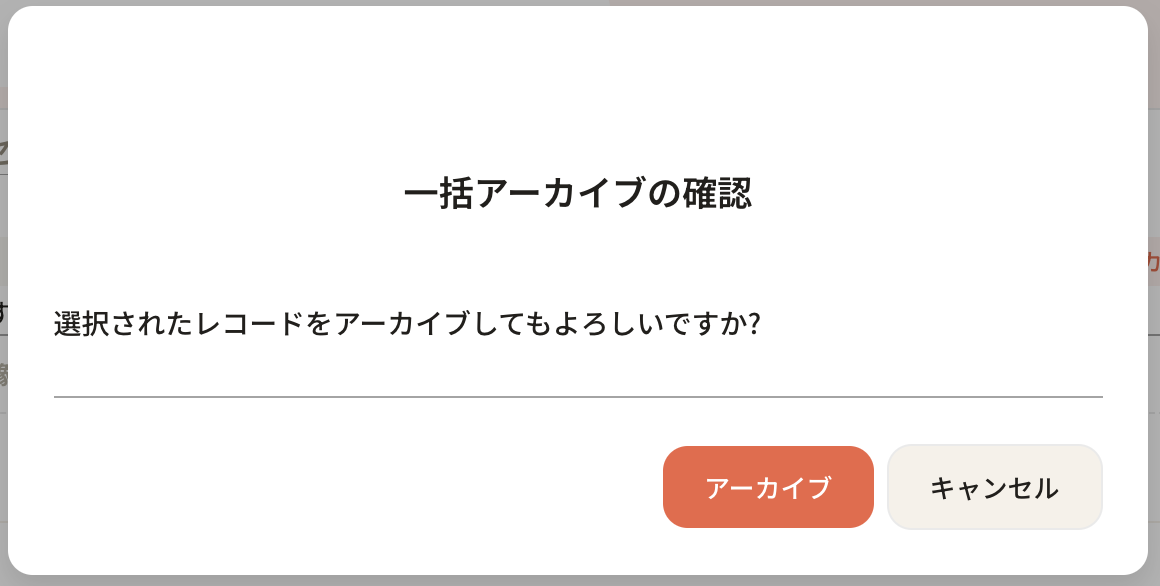
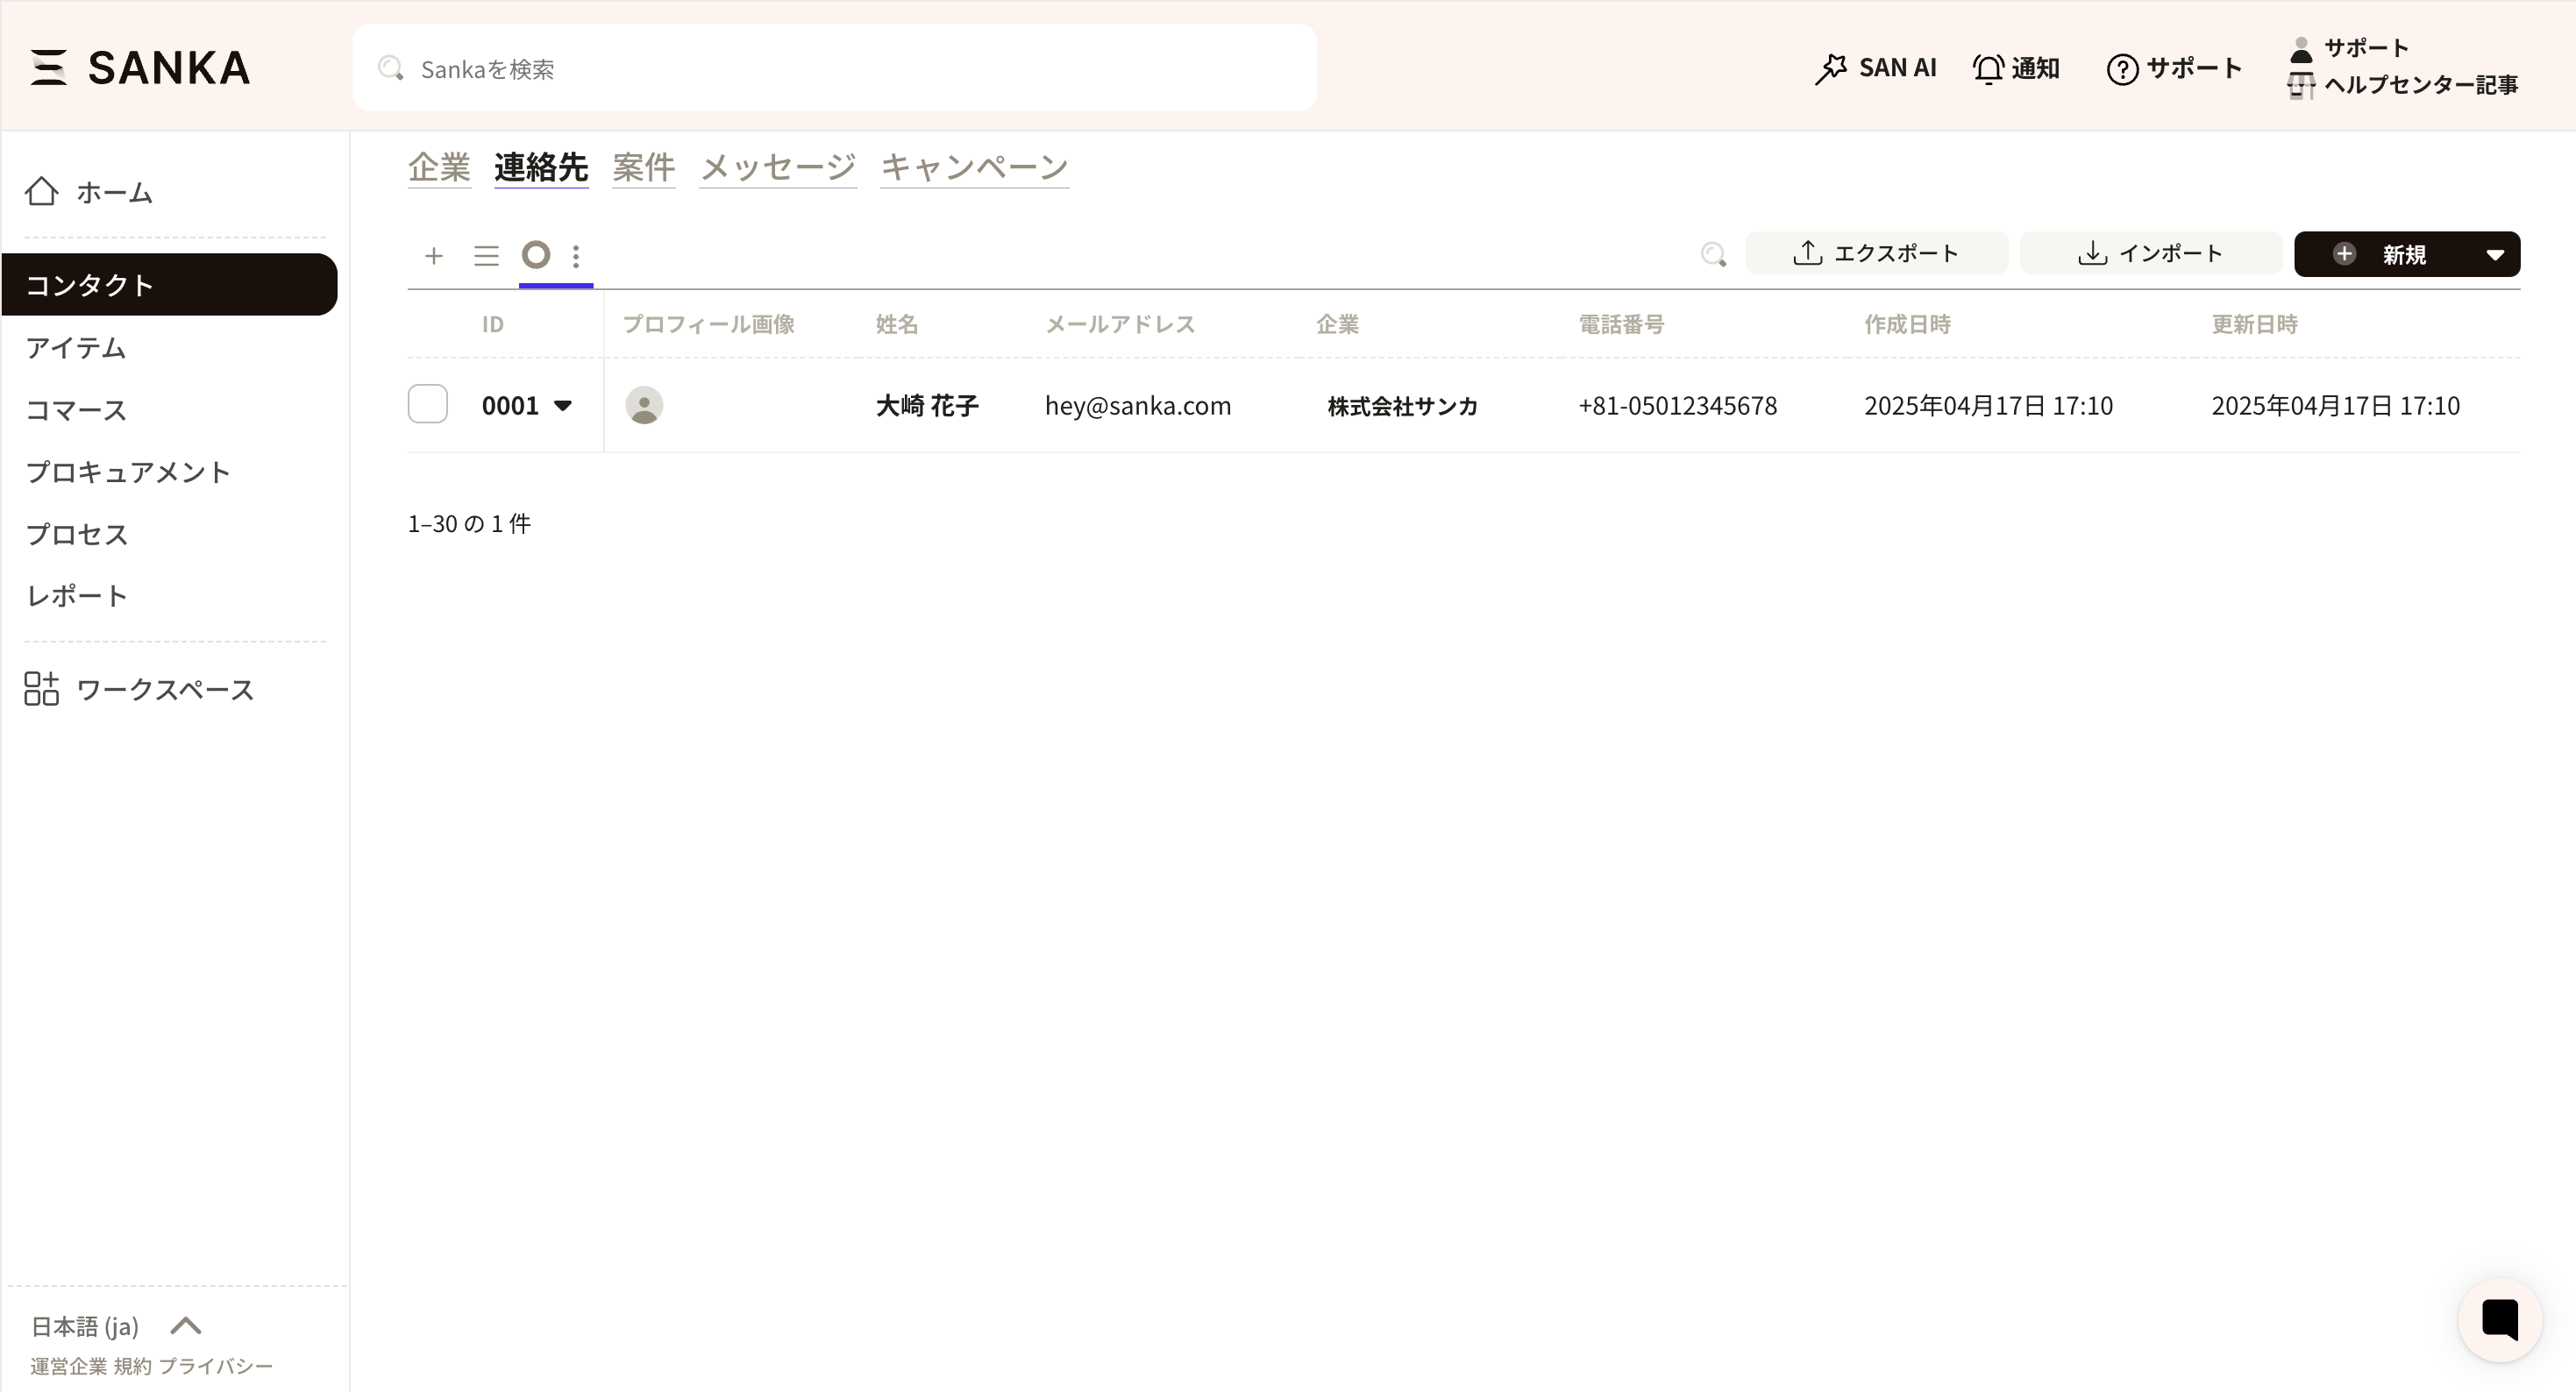
Overview of the Contact object and how to create contact records.
Sanka’s Contact object is a powerful tool to store, organize, and manage business contacts in one place.This includes customers, suppliers, partners, and other related parties.It is designed to streamline communication, track interactions, and improve relationships across your business network.
The Contact object is useful in many business scenarios:
Manage customer relationships: Store contact information and track interactions so you can follow up on inquiries and deals effectively.
Manage suppliers and vendors: Keep supplier contacts in one place to manage orders, deliveries, and restocking efficiently. This supports a smooth supply chain.
Collaborate with partners and stakeholders: Organize external contacts and access critical information when needed.
Link contacts to inventory transactions: When contacts are tied to specific transactions (such as inventory sales or orders), the Contact object links them to related actions.
Sales and marketing: Contacts are often used for targeted campaigns, email marketing, and sales follow-ups. In Sanka, you can connect contacts to campaigns and integrate with external CRM tools like HubSpot.
The Contact object plays a central role in business management:
Centralized information: All contact data lives in one place, reducing complexity and errors from spreadsheets or scattered systems.
Better communication: With organized contacts, you can communicate quickly and accurately with customers, suppliers, and partners.
Stronger collaboration: Team members can access contact details and interaction history, improving consistency across the business.
Tracking and accountability: Each contact is linked to actions in the system, making it easy to track interactions. This is important for customer service, project management, and compliance.
Integration with other systems: Sanka integrates with platforms like HubSpot, letting you manage contacts in Sanka while syncing key data to external CRMs.
Analytics and reporting: Combined with Sanka analytics, contacts provide insights into engagement patterns and support data-driven decisions.
Scalability: As your business grows, the Contact object scales to manage thousands of contacts without losing efficiency.